Mumbai Diaries – Dhokla

I came back to Dubai earlier this week after a 20 day long vacation in Mumbai. It was good fun meeting family and enjoying delicious meals from my mum’s kitchen. How I miss it!

I will start chronicling now on my travel diaries in the blog as well and this is the first of the many to come, let me know your thoughts on the same. The series will have my experiences while travelling to a destination and not necessarily a recipe to go with it. Again I am no expert at writing about travel but being a professional travel writer’s wife, I have come to love travelling even more over the years now.

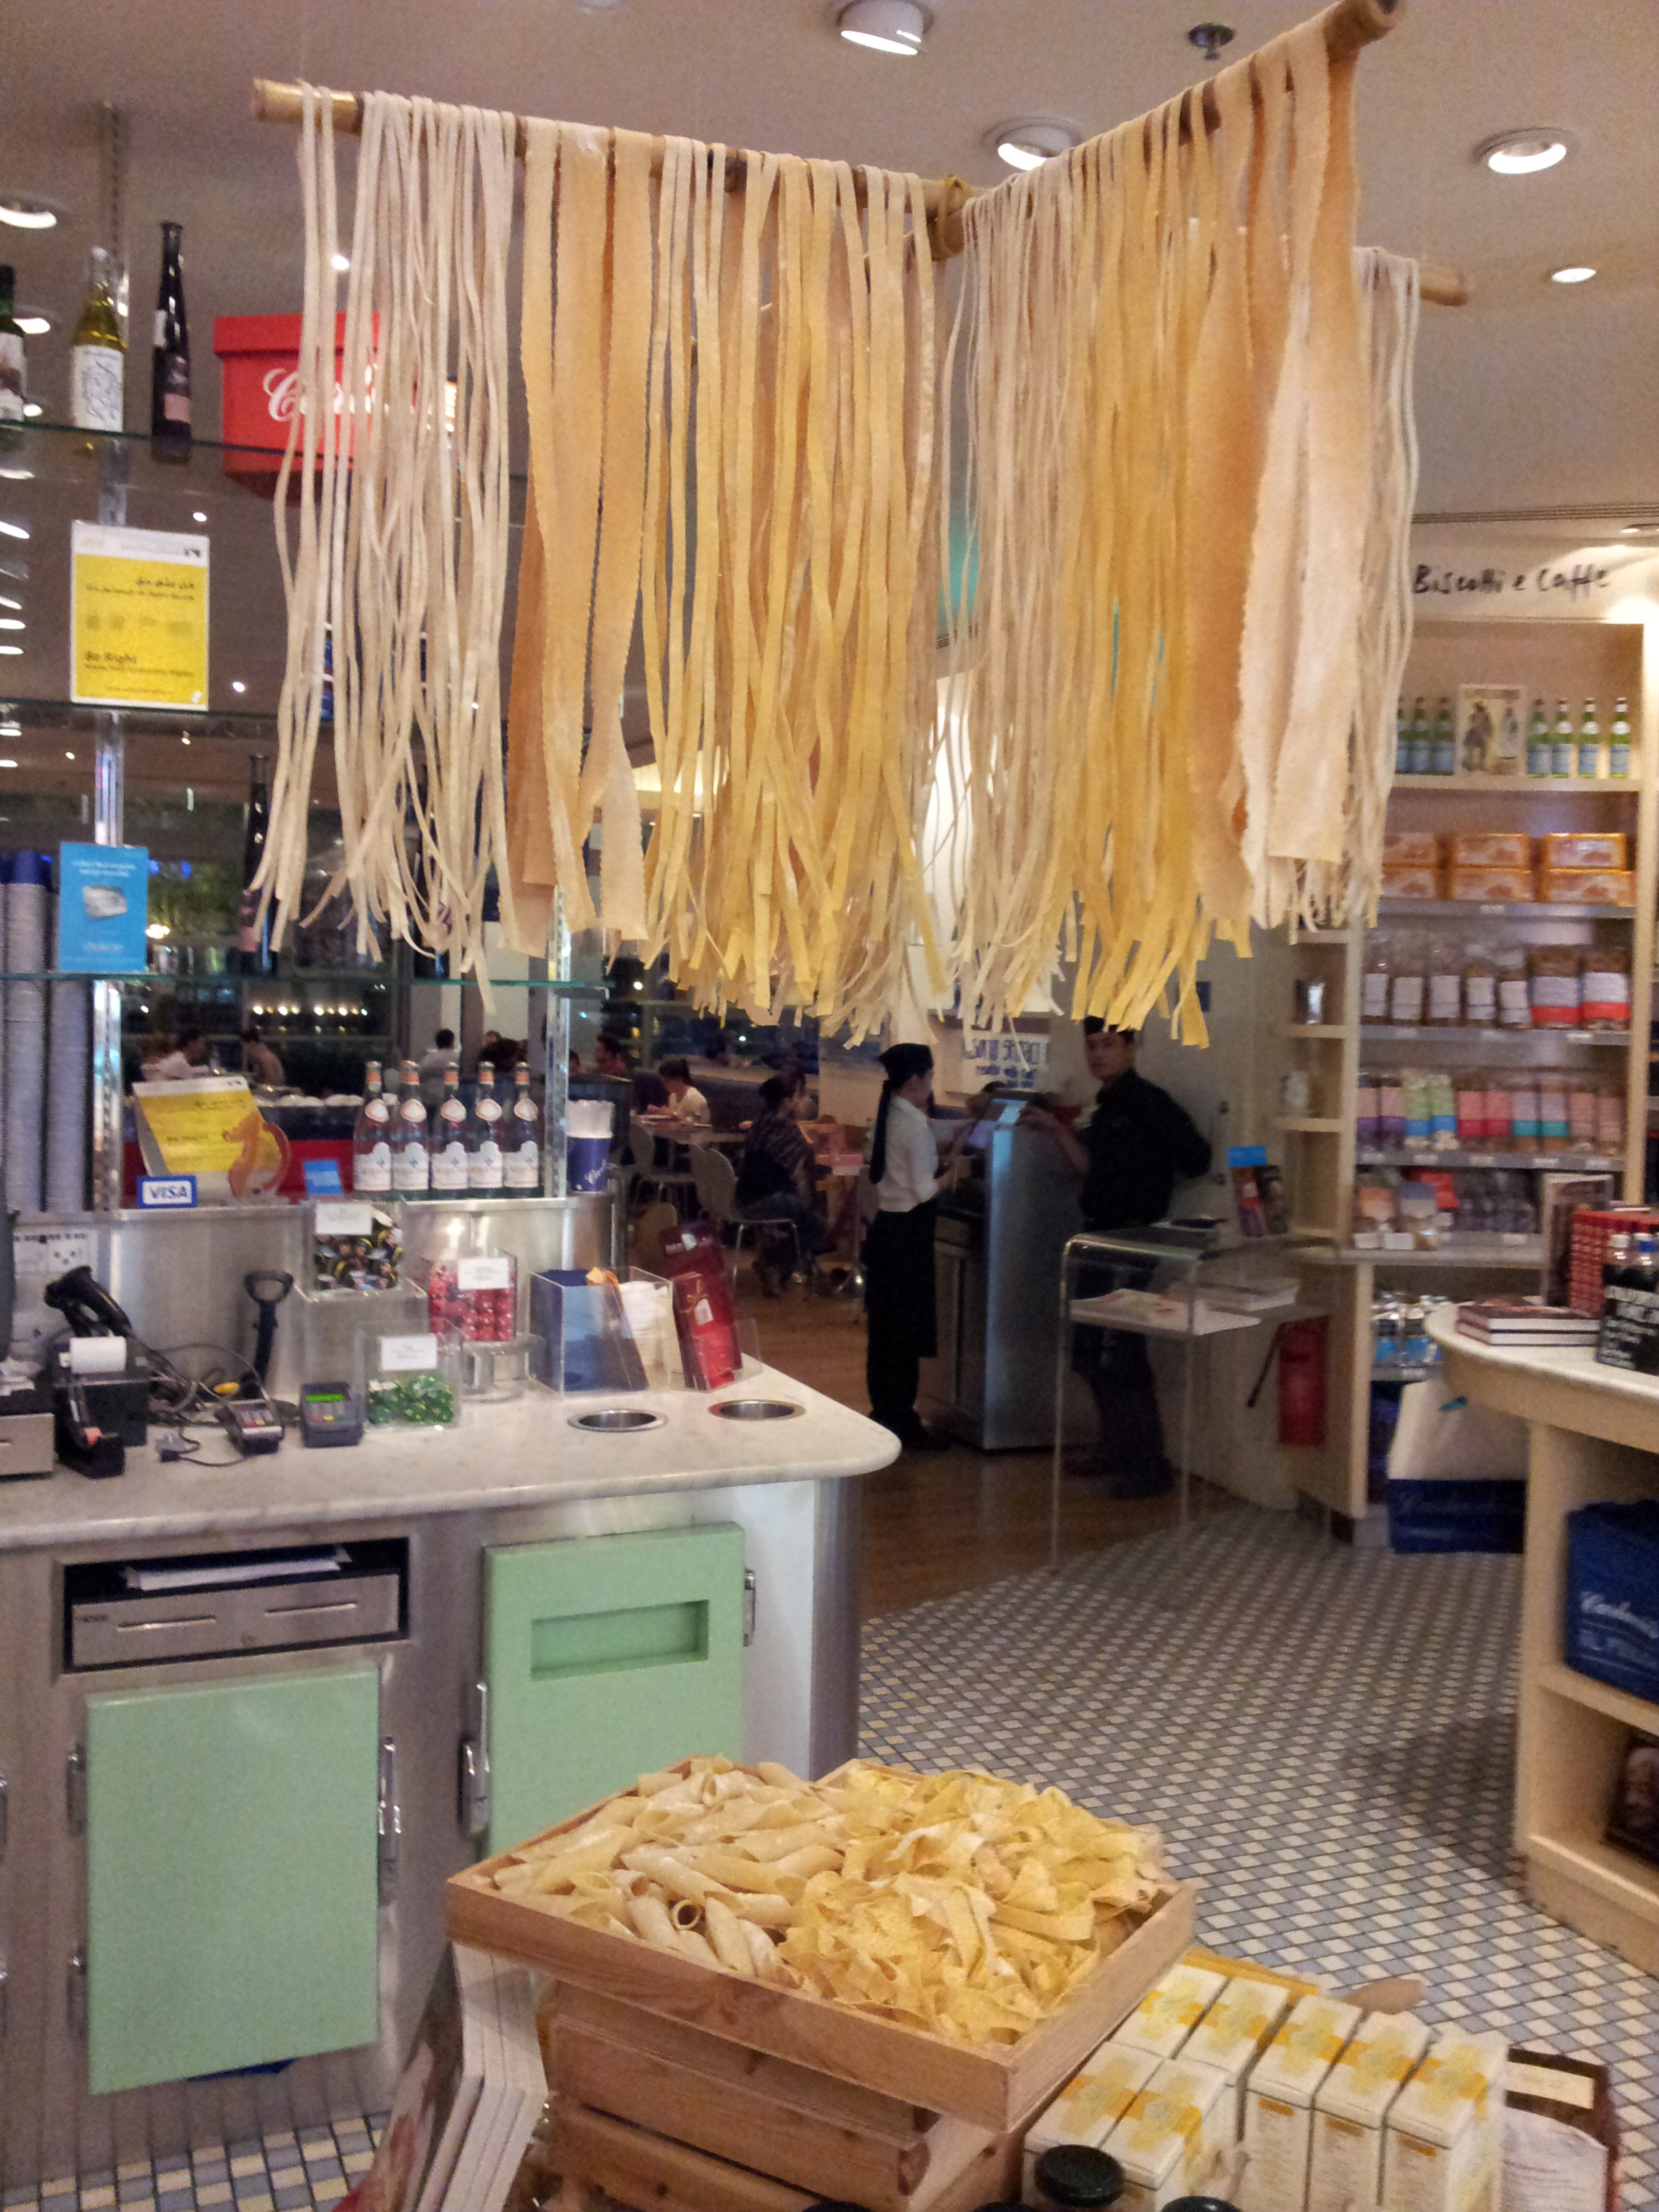
Going back to my trip to Mumbai, it was such a fulfilling experience when I cooked for my family one evening. I made some pasta, oats spinach tikkis and dhokla.

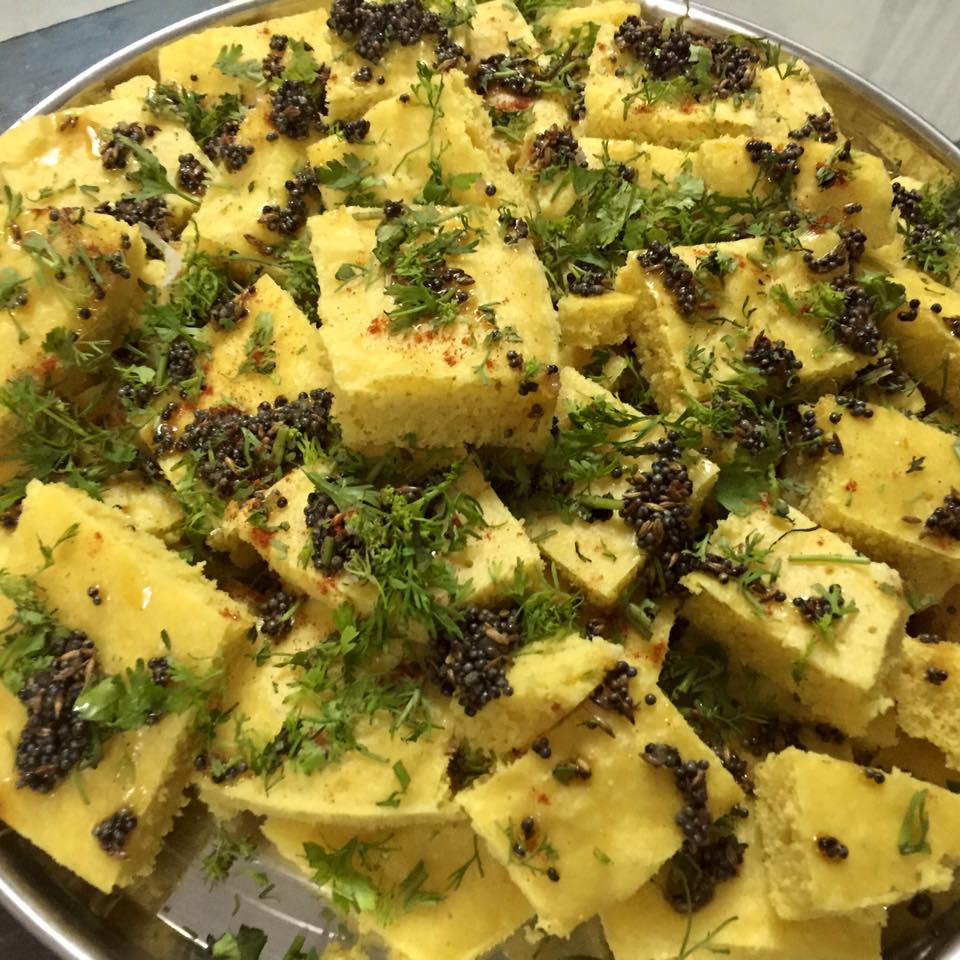
Dhokla is popular Gujrati snack and quite nutritious at it too. Weight watchers can rejoice since this recipe goes easy on the calories too.

The dhokla turned out much better than usual, must have been my grandma watching over me and giving her expert tips when she saw me mixing the batter or tempering the dhoklas later.

I could see a glint of pride and her smiling ear to ear when I made the tempering and not get deterred by the crackling and popping of mustard seeds. This stuff used to always scare me and I had burnt my wrists a few times panicking over the popping mustard seeds in hot oil.

How things change! We just looked at each other and that moment melted my heart, it was simply beautiful.

Dhokla

Ingredients
Dhokla batter

2 cups gram flour
3 tsp canola oil
2 tsp green chilli paste
1 tsp ginger paste
1 sachet eno (fruit salt)
3/4 tsp lemon juice
Salt to taste
1 1/2 cup water
Handful of freshly chopped coriander powder
Pinch of red chilly powder (optional)
Freshly grated coconut (optional)

Tempering
3 tsp canola oil
2 tsp mustard seeds
2 tsp cumin seeds
10-12 curry leaves (optional)

In a mixing bowl, sieve the gramflour and add salt, eno, chilli, ginger paste and mix well.

Add water, little at a time and blend all the ingredients together. The consistency of the batter needs to slightly thick and hence add water as per requirement. Do not pour all of the water instantly.

Add oil and mix well, this helps give the batter a good sheen. Do not let the batter sit on the side for long after it has been made.

In a steamer, boil water and add the batter to greased plates in the dhokla stands. Fill the plates with the batter only to half the capacity since once steamed, the batter will rise.

Steam for almost 10-15 minutes with the lid on. Always set the steamer on medium heat, high flame will dry out the dhoklas and the end result won’t be soft and spongy.

Just like we check cakes, use a toothpick to check if the dhoklas have been cooked throughout after 10-12 minutes. If the toothpick comes out dry, remove the dhoklas off the heat.

Let it cool for a while and then un-mould them from the plates and cut them in diamond / square shape.

To make the tempering, heat oil and add mustard seeds and cumin seeds. Once they crackle, remove from the heat and with a spoon spread it over the dhokla pieces. I wish I had curry leaves that day so I could have added them to the tempering but we were too lazy to venture out and get some. Aren’t holidays all about lazing around and not stressing over the little things ?

Garnish the dhoklas with a generous sprinkling of freshly chopped coriander leaves, a pinch of red chilly powder and serve with green chutney and tomato ketchup.

I also like garnishing with freshly grated coconut but again it was not available and we gave it a pass.

This is one special post, for me this is not much about the recipe here but about my experience that one rainy evening in Mumbai spending some quality time with my loved ones.

Here’s to my family who taught me cook with love! Happy cooking! 😀

Dukkah Spiced Chickpea Rice

What do I pack for lunch tomorrow ? This is a question I ask almost every day to my dearest husband and he never has a good enough answer. He does not like to take leftovers of dinner last night as is. This leaves me in a fix!

So I have to work a lot with leftovers in one way or another. Some days I use the curry or vegetable in parathas and make kathi rolls or if I have stir fried veggies, use them up in noodles. On most days, I have a bowl of left over rice staring back at me. When I am at leisure, I sometimes make Spicy Peanut Balls from leftover rice.

On one such instance, I made this rice with chickpeas and spices. This is a easy office lunch option, gets ready in few minutes and is very easy to prep.

Chickpeas add a source of protein to an otherwise basic recipe. I used to always spice this up with the usual coriander and cumin powder. However this time around I decided to experiment with dukkah spice mix.

My colleague recently visited his home back in Egypt and his mum lovingly packed homemade dukkah spice mix for me. See packing brownies for team mates comes with it’s own advantages! 😀

Dukkah is an Egyptian spice mix comprising of toasted sesame seeds, hazelnuts, coriander, almond meal and cumin. I’m no expert about these spice mixes but just sharing the information imparted by my colleague’s mum!

I have used chaat masala previously to add some zing to rice dishes like Tawa Pulao. This time since I was using a Middle Eastern spice mix, I decided to substitute the chaat masala with some sumac. And I’m glad that I did so!

Here’s my recipe for the Dukkah Spiced Chickpea Pulao:

Chole Pulao

Comes together in : 20 Minutes
Ingredients

2 onions finely chopped
2 tomatoes finely chopped
1 green chilly finely chopped
1/3 cup carrots finely chopped (optional)
1/2 cup chickpeas
1 1/2 tsp dukkah masala
1 tsp sumac powder
1/4 tsp turmeric
1 tsp cumin seeds
1/2 tsp carrom seeds (optional)
1 tsp coriander powder
3 tsp canola oil
4 cups cooked rice
A handful of parsley roughly chopped
Salt to taste

In a sauté pan, heat some oil and add cumin seeds and carom seeds. Once it sizzles, add green chilly followed by onions.

Cook onions until they are translucent, add tomatoes. Let them cook till they are mushy.

Add the spices, salt to taste and blend well together followed by chickpeas. Let it stand in the mixture for a while.

Add the cooked rice and mix it well with the mixture. Garnish with parsley and serve hot with a side of cucumber raita.

Chole Pulao1

Until next time, happy cooking!

Peas Pulao

Simple home style meals never go out of fashion. I find it difficult to whip up a full fledged meal on weekdays after a 10+ hour work day. And on days like these when I would still want a home cooked meal with minimum effort, I make this peas pulao.

My special touch is only the kasuri methi i.e. dried fenugreek leaves, I usually use the roasted ones. They tend to be less bitter and enhance the flavor.

I put all ingredients in a pressure cooker and 15 minutes later can settle for dinner. Even on rushed mornings, I make this and brown bag it for lunch.

Cooking Time : 15-20 minutes including prep
Ingredients
1 cup basmati rice
1 3/4 cup water
1 stick cinnamon broken in half
5-6 cloves
2 bay leaves
4-5 peppercorns
2 star anise
2 tsp kasuri methi
3 tsp canola oil
1/4 cup green peas
1 medium sized onion thinly sliced
1 tsp coriander powder
Salt to taste

In a pressure cooker, heat some oil and add all dry spices on very low heat so that the spices do not burn.

Spices

Let it sizzle for a while so as the oil absorbs the flavors. Add sized onions, cook until translucent.

Add peas, salt and coriander powder and sauté well.

Add soaked (optional) basmati rice to the mixture and mix it well for a few minutes. This help the flavors to seep in.

Add water and kasuri methi and pressure cook the pulao until 3 whistles or 15 minutes.

Take it off heat and let it rest before you open the lid for the pressure cooker.

Peas Pulao

Serve it with a simple salad, pickle, dal tadka and cumber mint raita.

Until next time, happy cooking! 🙂

Paneer Bhurji

A wall of silence on the blog! While I may have not blogged for the last 2 weeks, a lot of cooking happened. Past few weeks have been all about cooking for family.

Late Holi wishes to everyone out here, this Holi we celebrated with our extended families, lots of food, laughter and a sense of belonging. Gujiyas relished from Old Delhi sweet shop. One of the best festive celebrations we have had since we embraced our expat lives in Dubai.

Gujiya

These days I’m trying to follow a high protein diet. Being a vegetarian, paneer or cottage cheese is the most common substitution for meat in Indian sub-continent. It is also an excellent source of calcium. 

If I’m busy, I just buy a block of cheese from Lulu’s or Bikanerwala or else make it at home. It is a staple in my pantry. While I love my Paneer with vegetables and in Makhni gravy, sometimes all you need is a no-fuss and easy to make dish.
On days like this, I have this recipe of Paneer Bhurji handy. A bhurji is simply means a scramble. On work day mornings, it gets ready in a jiffy including the prep and it means I can brown bag my lunch and not spend my molaah on take-aways.
Paneer Bhurji 1
Serves : 4
Prep Time : 5 minutes
Cooking Time : 10 minutes
 
Ingredients 
200 grams cottage cheese / paneer
2 medium sized onions finely chopped
2 medium sized tomato finely chopped
2 green chillies finely chopped
1 tsp tomato paste
5 tsp canola oil
1 tsp cumin seeds
1 tsp ginger garlic paste
1 1/2 tsp coriander powder
1/2 tsp cumin powder
1/2 tsp chaat masala
1/4 tsp red chilly powder
1/4 tsp turmeric powder
One bunch of Spring onions greens finely chopped
Handful of coriander leaves finely chopped for garnishing
In a wok heat some oil, add cumin seeds. Let them sizzle and add green chillies and ginger garlic paste.
Onions
Add onions after a minute and cook them until they are translucent.
Masala
Add tomatoes, tomato paste and the dry spices and cook them until the mixture leaves a ring of oil on the sides.You can also add green peas and capsicum to the mixture.
With your hand just crumble the paneer lightly or you could use a box grater.
Paneer
Blend the paneer well with the onion-tomato mixture and cook for a while until the mixture is not quite moist.
Spring Onions
Sprinkle with the greens of spring onions and mix well. Garnish with coriander leaves and take the Bhurji off heat. I did not have some on hand hence no garnish for me 😦
Paneer Bhurji
Serve with fluffy phulkas or toasted bread with butter.
Next post I will bring you stories from my meeting with the MasterChef himself, Sanjeev Kapoor and the euphoria that followed after the same. Also my experience of meeting the Curry Queen – Camellia Panjabi, such a lovely lady. Me and Sahil had a really candid and heart warming conversation about differences in coastal cuisines and misrepresentation of Indian cuisine internationally on many instances. How we asked her to please write a new cook book and much more!

 Until next time, happy cooking! 🙂

Rajma Masala – Red Kidney Beans Curry

Sundays in Punjabi households usually mean either two things. One the mums or grandmas are off duty and aren’t going to feed you at your beck and call and just make one pot wonders, or they do have a crowd to entertain and would be seen slogging a day before the feast is to be served.

For the casual Sunday mornings, at my place, it used to be poha, upma, bread pakoda or vegetable stuffed sandwiches for breakfast. The fussy ones in the household could eat just jam, butter and toasted bread :/

Lunch used to one pot meals or there comes any curry with basic pilaf rice or steamed rice. My grandma used to make Rajma / Samhar / Kadhi lovingly for us. She used to serve this with Cucumber Mint Raita, onions marinated in vinegar and salt and mango pickle.

Sunday lunch used to be a long affair with conversations drifting around family gossip, plans for the week to come, silly family jokes and general chit chat. Such a heavy meal used to ensure the kids retiring for an afternoon siesta and the ladies after patting them to sleep enjoying long tea sessions.

This recipe is inspired by the way Rajma used to be made at my family house.

Rajma Masala

I usually include legumes and beans in my diet. Red kidney beans being an excellent source of fiber and are recommended to individuals with high cholesterol and diabetics since they help regulate the blood sugar level. It also good source for keeping iron deficiency at bay and being a vegetarian, it helps me up my protein intake as well.

This recipe is inspired by the way Rajma used to be made at my family house.

Ready in 45 minutes
Serves : 6

Indgredients
4 tsp canola oil
1 1/2 cup red kidney beans / rajma
2-3 bay leaves
3 cloves
4 black cardamom
6 medium sized onions grated
1 tsp ginger paste
1 tsp garlic paste
6-7 large tomatoes pureed
1 tsp tomato paste
2 green chillies slit
1 tsp coriander powder
1/2 tsp kashmiri chilli powder
1/4 tsp turmeric powder
1 tsp roasted cumin powder
1 tsp garam masala
1 1/2 tsp rajma masala
1 tsp kasuri methi / dried fenugreek
Handful of Coriander Leaves coarsely chopped
Ginger juliennes
Salt to taste

Soak the red kidney beans overnight. In the morning, add some salt, turmeric powder, cloves, bay leaves and black cardamom to soaked kidney beans with 5-6 cups of water and pressure cook until it has 5 whistles. Do not discard the stock once they have been cooked.

If you want to save yourself the trouble of remembering to do this the night before, just grab two cans of red kidney beans and you will be are sorted!

In a deep sauce pot, heat oil and add slit green chillies. Deseed the chillies if you do not want the heat, I prefer to have them as is, it gives a nice kick to the gravy.

Once the green chillies sizzle, add the ginger and garlic paste and cook them for a bit.

Rajma Masala2

Add the grated onions and cook them until they acquire a nice light brown color.

Rajma Masala1

Add the tomato puree and keep cooking the mixture for 8-10 minutes until it forms a ring of oil on the sides.

Mid way while cooking the onion tomato mixture add the tomato paste, coriander powder, salt, kashmiri chill powder, cumin powder, half of the garam masala and half of the rajma masala and blend the spices well.

Rajma Masala3

Add the cooked red kidney beans to the mixture and mix them well. Pay attention not to squish the kidney beans.

Add the stock from the pressure cooked rajma as per the consistency you wish and cook with a lid on. If you have used canned beans then you can use a cubes of vegetable stock.

After 3-4 minutes, mix well and add the remaining rajma masala and gram masala. Add kasuri methi, it makes the gravy quite fragrant. You may choose to skip the same.

At this stage I usually take a ladle full of kidney beans in a bowl and mash them with a back of spoon and add the mashed beans to the pot. This is a old trick my grandma uses to get a smooth consistency. This is how the mixture would look.

Rajma

Cook for another 10 minutes on medium heat and keep stirring at regular intervals. Add ginger juliennes and turn off the heat.

Rajma Masala

Voila! Serve hot with steamed rice and side of pickled onions and masala papad.

Carluccio’s

Dining out is a convenient option whenever we go out for grocery shopping. I feel lucky since my husband always has a keen interest in the same.

Yeah!! some advantages of marrying a foodie. This guy can romance cuisines and menus. He takes annoyingly long to go over restaurant menus. I think he starts picturing the menu items before he orders them.

With time I have taken this quality of his in my stride and very politely mention to the staff that he will take loooong, so bear with us for sometime. We will let you know when he has decided.

This week we just wanted to grab some bread and oh-so-wonderful labneh and creamy coleslaw from Waitrose. You see we like to be sorted for our weekend breakfast next morning. Walking out, we were famished and tired and me especially in no mood to cook.

We were weighing our options between Zafran and Carluccio’s. Having tried Zafran a couple of times before we went for Carluccio’s.

Carluccio's - The Menu

Carluccio’s – The Menu

The moment I walked in rather than making way to the quaint dining tables lined inside, I was drawn towards the open market concept they have. Everything I saw, I wanted in my pantry. Whole wheat pastas of different types and sauces to go along with them.

20120927_211144

There was Arabiatta, Pesto, Greek Pesto, Basic Tomato Sauces. Even olive oil, motor and pestle and cute kitchen aprons were on display. It was a foodie’s delight having so many items to choose from.

We went our separate ways to see what we like, a glance across the room and we see polite and smiling restaurant staff coming towards us asking if they could be of some help. It’s so nice when you are put to ease the moment you walk in. They did not hound us with information or press us to make some purchases and let us whale away while we picked up the Tomato Sauce and basil pot for making a spaghetti meal.

We sampled the Brushetta and Fusilli Arabiatta, safe options. The Brushetta bread was nice and crisp but wasn’t herbed. It was loaded with firm cut tomatoes, red and yellow peppers with a generous drizzle of olive oil. There was a side salad of rocket leaves as well. What was a let down was no dressing on the same. I asked for balsamic vinegar and sprinkled some rock salt on the table and it was a hit with my palette.

Bruschetta

The pasta was al dente cooked to perfection and blended beautifully with the tomato sauce and chill flakes. A quick dash of grated parmesan and we were satiated and all smiles. I will definitely visit Carluccio’s again for their pizza, I looked at some options and would like to sample them.

Penne Arabiatta

We came back from Carluccio’s all giddy with delight of a wonderful meal.

Past

Here’s the review for Carluccio’s from the husband. This post has been in my drafts since forever but here’s to clearing the drafts. 🙂

Disclaimer : All featured dishes and meals were paid for my me and this post is not a sponsored one.